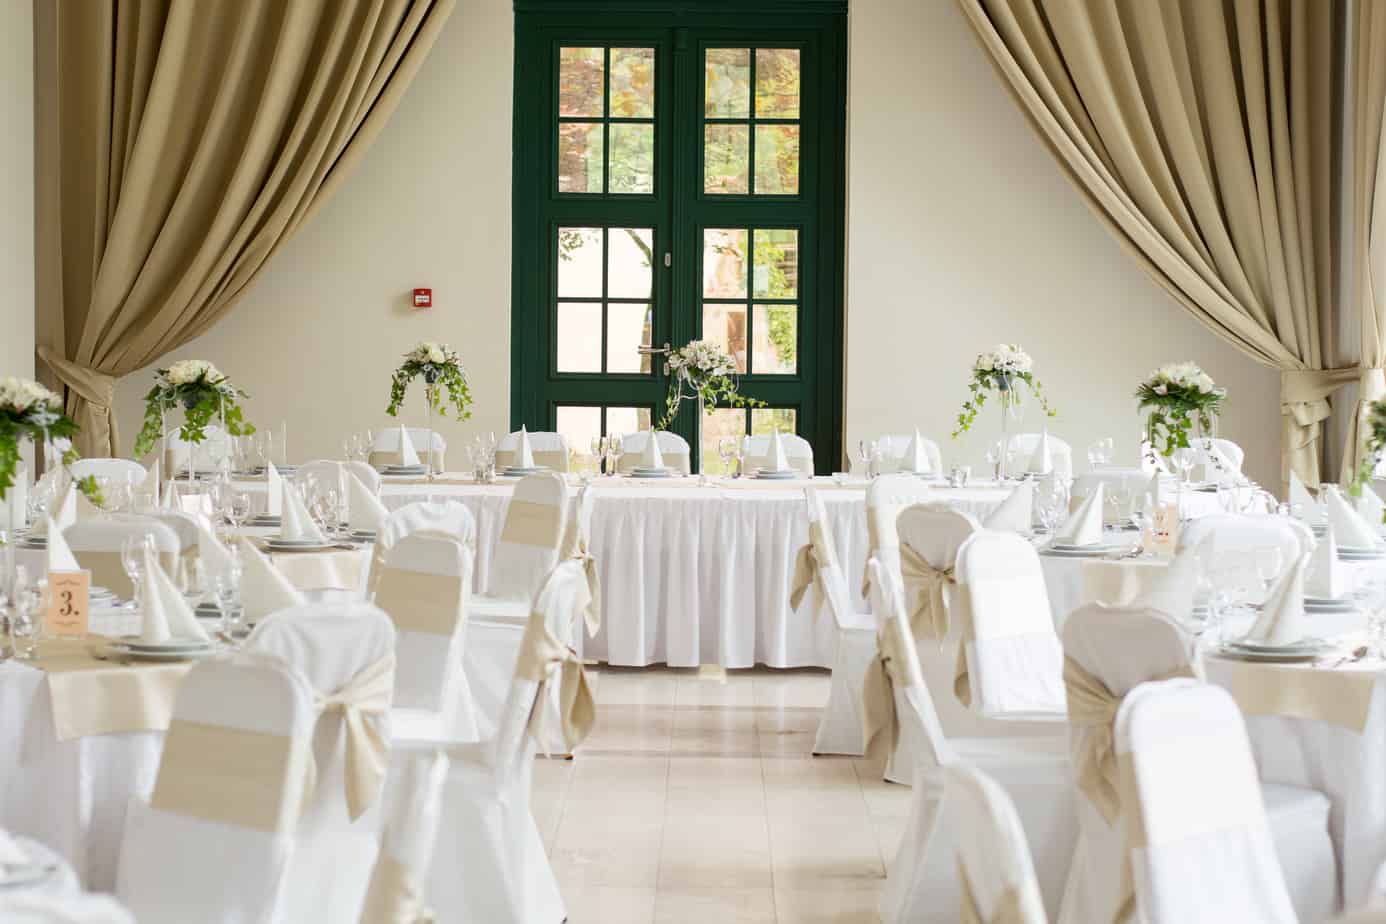
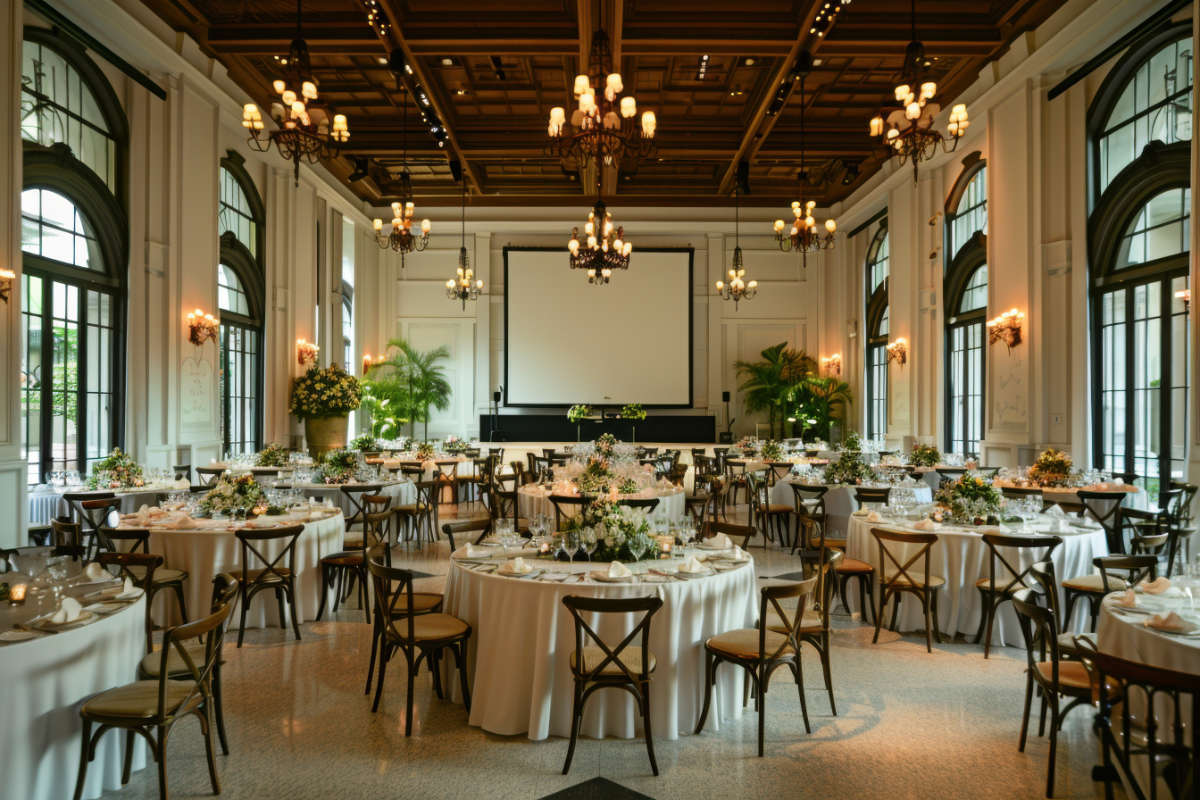
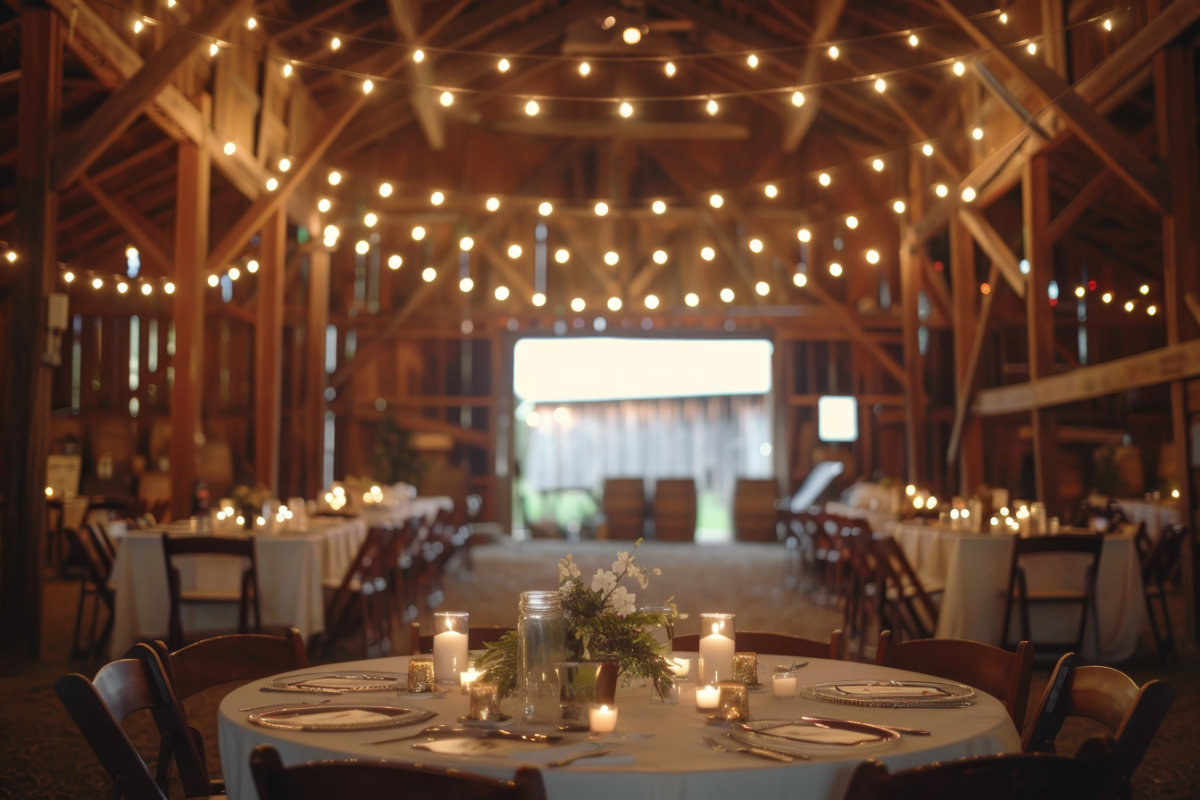
The menu is finalized, and the invitations have been sent — now comes the time to set the table for your special dinner. A formal table isn’t just about etiquette; it’s a visual welcome for your guests before the first course even arrives.
Treat your table as the stage for your meal. A well-set table puts guests at ease and highlights the food. Don’t stress over details. We’ll simplify every step.
1. Give Your Guests Some Breathing Room
Ensure guests have ample space for comfort. Spacing matters!
- The 2-Foot Rule: Measure about 24 inches from the center of one plate to the center of the next.
- Go Local: Instead of big-box stores, explore a SoCal boutique or rental house for plates and decor your guests won’t see everywhere else.
- Check the Lighting: It should be gentle enough to create a welcoming, relaxed mood but not so dim that guests struggle to see their food.
2. Centerpieces: Low and Lean
A centerpiece should spark conversation, without blocking it.
- Keep it Low: If you have to crane your neck to see the person across from you, the centerpiece is too tall.
- Avoid strong scents so food remains the focus.
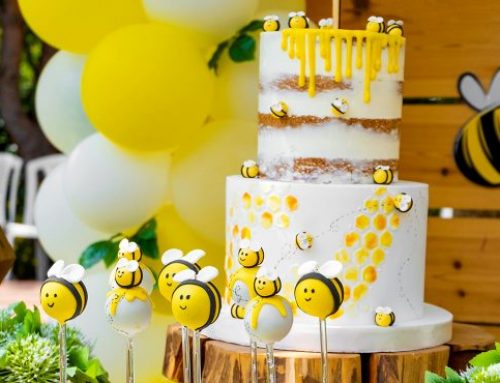
- Opt for succulents, citrus, or beeswax for a clean look.
3. The Table Setting “Base” Layer
Now it’s time to set the stage for each of your guests.
- The Charger: The charger acts as the foundation of your place setting. Think of it as a decorative stage for your savory courses—it frames your dinnerware and stays on the table until the transition to the final course, when it’s removed before dessert.
- The Centerpiece Real Estate: Place a folded napkin or an elegant name card right in the middle of the charger. This focal point is the first thing your guests see as they sit down, signaling that a seat has been prepared especially for them.
4. The “FORKS” Method for Silverware
Navigating a pile of silverware can be one of the most intimidating parts of a formal dinner setting, but the logic behind it is actually quite simple: work from the outside in. Silverware is arranged in the order of the menu. Each course uses the outermost pair of utensils, moving one step closer to the plate with every new dish.
Use the FORKS acronym to arrange silverware left to right.
- F – Forks (Left side)
- O – Plate (The round shape in the middle)
- R – (Skip this one—just a placeholder!)
- K – Knives (Right side) Ensure the cutting edge of the blade faces inward toward the dinnerware.
- S – Spoons (Far right)
Line up utensils 1 inch from the edge of the table, and only set the table with the utensils you will use. For example, if you’re not serving soup, don’t set out a soup spoon.
5. The Oddballs — Bread & Dessert
There are a few rebels that don’t follow the FORKS rule:
- The Bread Plate: Placed at the top left. Think of it as the “Upper West Side” of your setting.
- Butter Knife: Resting on the bread plate (top left)
- Dessert Utensils: These are placed horizontally above the plate. Fork handle points left, spoon handle points right.
- The Water Glass: This stays out the whole night, placed directly above the knives on the top right.
- Wine Glasses: To the right of the water glass.
6. The Grand Transition: Clearing the Stage
Before dessert and coffee arrive, take a moment for the “table reset.” This is the bridge between the main event and the finale.
- The Big Sweep: Remove all dinner plates, the charger, and any used silverware.
- The Bread & Salt Check: Traditionally, the bread basket, butter dish, and salt and pepper shakers are cleared now, too. They’ve served their purpose for the savory courses and only clutter the dessert setting.
- The “Crumb”: If you’re feeling extra polished, a quick sweep of the tablecloth to remove stray crumbs ensures the dessert course feels fresh and intentional.
7. The Final Act: Coffee & Dessert
To keep the table from feeling crowded, the coffee cup and saucer make their entrance only after the savory courses are cleared. This makes the arrival of the dessert and coffee feel like a brand-new invitation to linger and talk.
- The cup and saucer are placed to the right of the original table setting.
- The cup handle should point toward the 4 o’clock position, making it easy for a right-handed guest to pick up.
Focus on the Feast, Not the Forks
At the end of the day, the most important element on the table isn’t the setting, it’s the company. While a well-set table provides a beautiful roadmap for the meal, your guests will remember the warmth of your hospitality far longer than the placement of a salad fork.
When you’re relaxed and focused on your guests’ experience, they’ll feel valued and at ease, which is the hallmark of any truly great host.
FAQs: Formal Table Settings
Q: What’s the easiest way to remember how the silverware is arranged?
Just remember FORKS. From left to right: F (Forks), O (the round Plate), skip the R, K (Knives), and S (Spoons), and work from the outside in.
Q: Where does the napkin go?
You have options. Fold it neatly and place it right in the center of the charger plate, or tuck it to the far left of your outermost fork.
Q: How much elbow room do my guests actually need?
Aim for about two feet (24 inches) from the center of one plate to the center of the next. This ensures your guests can eat and talk without colliding mid-meal.
Q: What is a “charger” plate even for?
Think of the charger as a decorative base. It stays on the table while you swap out soup bowls and salad plates on top of it. It’s usually cleared away right before the dessert course.
Q: Where does the bread plate go?
The bread plate lives in the “Upper West Side” of the setting—above the forks and slightly to the left. Rest the butter knife horizontally across the top of the plate.
Q: How do I handle dessert utensils?
These are placed horizontally above the main plate. The fork goes closest to the plate (handle pointing left), and the spoon goes right above it (handle pointing right).
Q: Where exactly does the water glass go?
The water glass anchors the setting. Place it directly above the knives on the upper right side; it stays for the whole meal.
Q: Can I use tall floral arrangements for the center of the table?
It’s better to skip the tall arrangements. While they look great in photos, they’re “conversation killers” at a dinner party. Keep your flowers and candles low so everyone has a clear line of sight across the table.
Leave A Comment